MANAGING AD CLICKS
1. Banner with a single redirect
Ad clicks must be sent to the AdServer, to be counted and to redirect the user to the correct page.
For banners with a single redirection, you can choose between two methods:
First method
Modify the HTML publishing template, and add the onclick method to the body (and also the cursor: point).
<body onload="init();" style="background-color:#D4D4D4;margin:0px;cursor:pointer;" onclick="ADventori.click();" >
</body>
Re-import the publication template to the project.
Result:
Second method
The second method involves the click management directly in Adobe Animate.
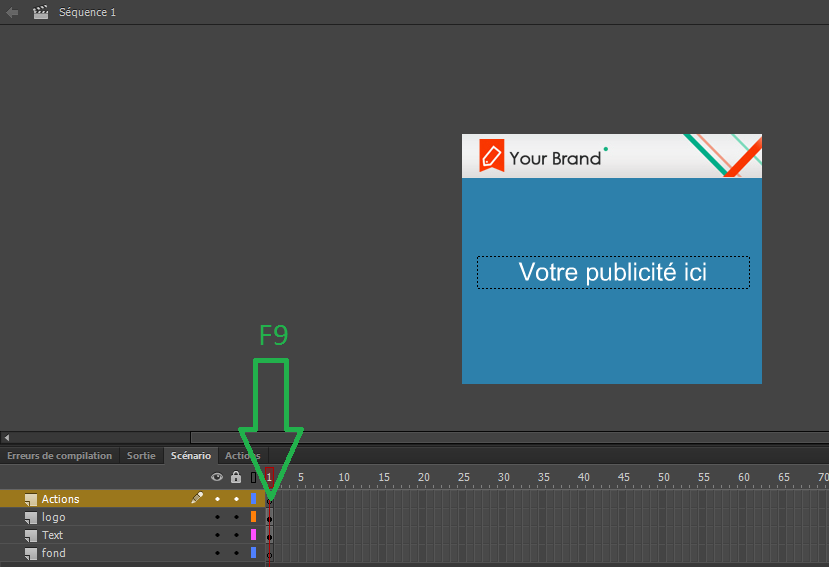
Add a new layer to your main scene, and name it: “Actions”.
At frame 1, click on F9 and add the javascript code below:
stage.addEventListener("stagemousedown", function(e){click(e);} );
function click(e){ADventori.click();}
stage.canvas.style.cursor = "pointer";
Result:
2. Banner with multiple redirects
Some banners require one clickable area per product.
In case you have multiple products, each has a different redirect URL:
ADventori.initData({
  url1:"http://www.item1.com",
  url2:"http://www.item2.com",
  url3:"http://www.item3.com",
  url4:"http://www.item4.com"
});
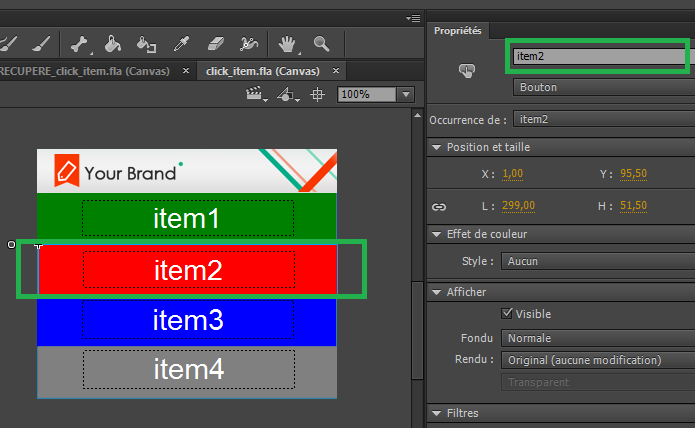
Name your buttons or movieClips, as below:
Now, we must associate the elements we want to make clickable (movieClip, button)
this.item1.addEventListener("click", function(event){click(event,ADventori.data.url1)});
this.item2.addEventListener("click", function(event){click(event,ADventori.data.url2)});
this.item3.addEventListener("click", function(event){click(event,ADventori.data.url3)});
this.item4.addEventListener("click", function(event){click(event,ADventori.data.url4)});

function click(event,url){
	ADventori.click(event,url);
}
Result:
other example:


